Last updated: October 27, 2026
Quick Answer: for How to Babyproof Stairs Without Drilling Into Walls, the safest no-drill setup is a pressure-mounted gate at the bottom of stairs, while the top of stairs usually calls for a hardware-mounted gate or a stair-rail mounting system. Measure the opening first, and use the narrowest width.
Stairs are the one place where a quick, “good enough” setup can fail badly. A gate that works at a hallway doorway may not be the right answer at the top of a staircase, and a rental-friendly installation is not automatically a safe one. The goal is to choose the safest setup that still fits the stairs, the wall, and the lease.
Start with the staircase you actually have
The right no-drill setup depends on the stairs, not on the gate box. Measure the opening first, then decide whether a pressure-mounted gate is acceptable or whether the layout needs a different approach.
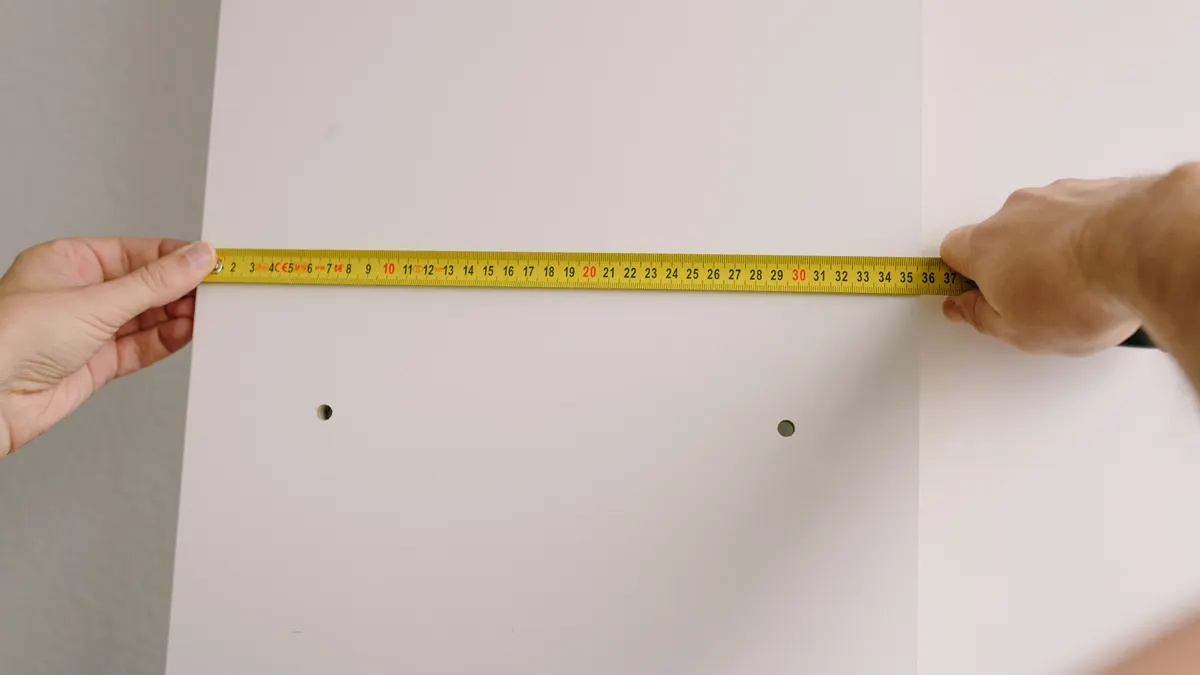
Start by measuring three things with a tape measure: the width between the walls or posts, the height of the opening, and the depth of any trim or baseboard that will sit behind the gate. Write down the narrowest width in inches. That number tells you whether a standard gate fits or whether you need an extension panel. Many gates are sold for openings around 28 to 42 inches, but the exact fit depends on the model, so check the manufacturer’s listed range before buying.
Then look at the landing itself. If the gate would sit at the top of the stairs, do not assume a pressure-mounted gate is the right call. At the top of stairs, a gate should not be able to shift or pop loose under pressure. That is why hardware-mounted gates are the usual recommendation there. If the gate will go at the bottom of the stairs, pressure mounting can be acceptable in some cases, but it is still worth checking the product instructions and, if needed, consulting a child-safety professional or installer before relying on it.
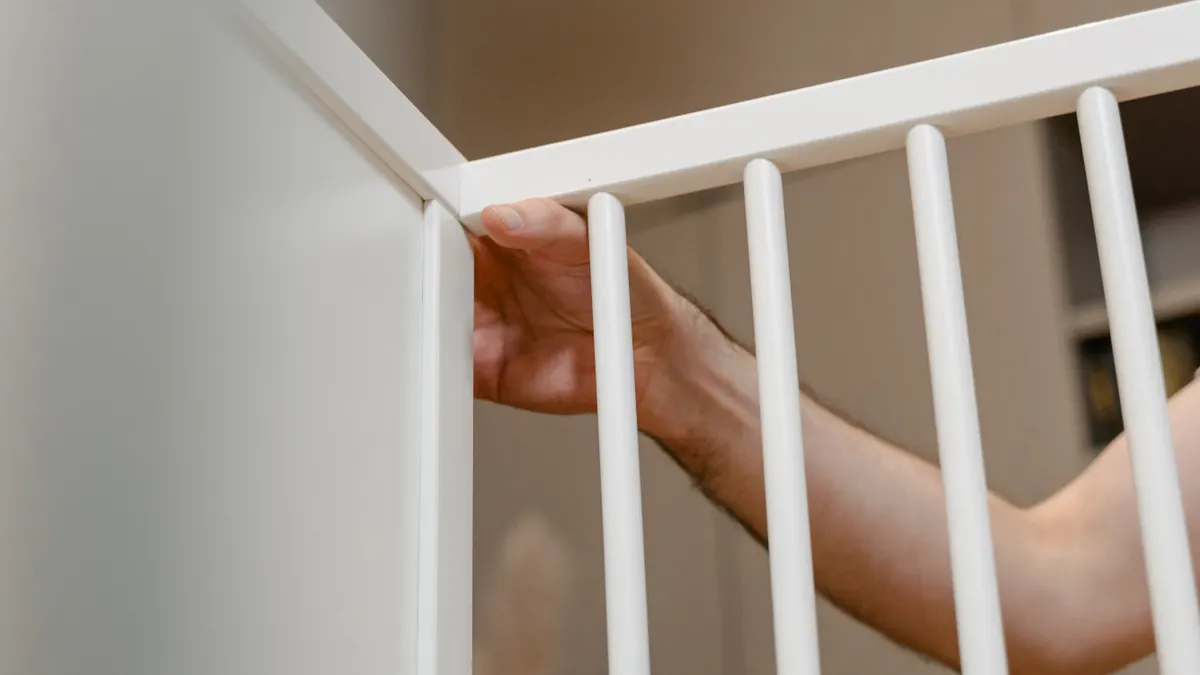
Finally, inspect what the gate would press against. Drywall alone, weak trim, loose baseboards, or rounded rail posts can all make a no-drill install unreliable. A flat, solid surface gives you a better chance of a stable fit. If the area is irregular, plan on a different mounting method rather than forcing the wrong one.
Which stair gates work without drilling?
Pressure-mounted gates work without drilling, but they are best for lower-risk spots, not the top of stairs. They rely on tension between two surfaces, which makes them easy to install and remove, but also easier to nudge out of position if the setup is wrong.
A pressure-mounted gate usually uses four padded feet and a tension knob or screw. You expand the gate into the opening, tighten it until the frame feels firm, and use the included indicator or latch to confirm the gate is locked. The result you want is a gate that does not wobble when you push it by hand and still opens and closes smoothly with one hand.
This kind of gate is often the fastest no-drill answer for the bottom of stairs, a hallway, or a doorway between rooms. It is also the simplest choice for rentals, because the pads normally leave no holes. The trade-off is that it depends on friction and tension. If someone leans hard on it, or if the wall surfaces are uneven, it can loosen over time. That is the main reason many child-safety guides and gate makers separate top-of-stairs use from other placements. The U.S. Consumer Product Safety Commission advises using a hardware-mounted gate at the top of stairs.
If you need a no-drill option at the top of stairs, look for a gate that uses existing features instead of wall drilling, such as a freestanding barrier designed for stair openings or a gate system that mounts to a stair rail without penetrating the wall. Even then, read the installation instructions closely. A product being “easy to install” does not make it safe for every stair layout.
One more point: pressure-mounted gates can protect against a toddler wandering through, but they are not a substitute for supervision. They are a barrier, not a guarantee.
How do I measure for a baby gate?
Measure the opening at the exact spot where the gate will sit, then match that width to the gate’s stated range before you buy it.
Use a tape measure and take the width in at least three places: near the floor, around mid-height, and where the gate will mount. Use the smallest number if the sides taper in, because that is the dimension the gate must fit. Also note whether the opening has baseboards, molding, or a round banister that changes the usable width. If the trim steals even 1 inch on each side, a gate that seemed to fit on paper may not fit once installed.
Next, measure the height of the area you need to block. Standard baby gates are commonly around 30 inches tall, but height varies by model. Taller gates can help with climbing, but they can also be heavier and harder to open with one hand. If you are dealing with a strong climber, height matters more than a decorative look.
Then check the swing direction. At the top of stairs, a gate should open away from the stairs if the design allows it. That way, if the latch is imperfectly shut, the door does not swing into the drop. If the gate cannot open that way because of the space, that is a clue you may need a different model or a different mounting method.
A common mistake is to measure the stair opening but ignore the railings. If a banister or spindle is inside the width, the gate may need hardware designed for round or narrow posts. Another mistake is buying a gate with no width adjustment left over. You want some room for the final tension or hardware fit, not a gate that only works if everything lines up perfectly.
For site standards and comparison points, the Juvenile Products Manufacturers Association, or JPMA, is a useful place to check whether a product claims compliance with safety requirements for gates and enclosures.
Top of stairs safety without drilling
The safest no-drill choice at the top of stairs is usually not a pressure-mounted gate at all; it is a gate system that does not rely on wall tension alone.
At the top landing, gravity changes the stakes. A child pushing on the gate or an adult opening it while carrying laundry can create a failure point. That is why hardware-mounted gates are the standard recommendation for the top of stairs, even though they require drilling. If drilling into walls is off the table because of rental rules or wall material, I would treat that as a sign to look for a different safe solution rather than trying to force a pressure gate into a high-risk spot.
If you need to avoid drilling, the next-best route is to look for ways to mount to the stair rail or banister using gate mounting hardware made for that purpose. Some systems use wrap-style brackets, banister kits, or gate cups that attach to the rail instead of the drywall. The key is that the gate must still lock in a way that does not shift when opened, closed, or leaned on. A decorative spindled railing can complicate the fit, because a narrow spindle gap may let a child slip through if the gate does not cover it fully.
Check the stair rail gaps before you install anything. If the vertical openings between spindles are wide enough for a child’s head or body to fit through, the rail itself is part of the hazard. The gate should block the open span, not just sit somewhere near it. Also, avoid letting the gate leaf sit over a curved or rounded post unless the hardware is specifically designed for it. A rounded surface can make a tension fit drift over time.
If a no-drill setup cannot be made rigid, the honest answer is to use a different barrier or accept a drilled installation with proper hardware. The worst option is a gate that looks installed but can be shoved out of place.
The AAP’s HealthyChildren.org has practical stair-safety guidance that aligns with this approach.
Bottom of stairs safety without drilling
The bottom of stairs gives you more flexibility, and that is where pressure-mounted gates make the most sense.
At the bottom landing, a pressure-mounted gate can be a practical no-drill solution if the opening is straight, the wall surfaces are solid, and the gate fits snugly. Install it so the latch is easy for an adult to reach but not easy for a child to manipulate from the floor. When it is done correctly, the gate should stay steady under hand pressure and close fully every time without needing a hard shove.
This placement works best when the gate is not the only safety measure. Clear the first few steps of toys, baskets, and anything a toddler could use as a step. A gate can stop a child from climbing up, but it does not stop a child from falling down if the stair area is cluttered and someone opens the barrier with hands full.
A bottom gate also needs enough clearance to swing freely. If it scrapes baseboard, catches on carpet, or binds on a banister post, the gate may not latch all the way. That sounds like a small inconvenience until it becomes the reason the gate is left half-closed. If the latch clicks and the frame sits square, you should see even pressure on both sides and no visible tilt.
Use a pressure-mounted gate only when the wall surfaces are appropriate and the opening is not unusually wide. For extra-wide openings, a freestanding barrier or a gate with extensions may fit better, but the more parts you add, the more important it is to verify the fit every time you move it.
How to handle stair rails, spindles, and banisters
Stair rails and spindles need their own plan because a gate that fits the wall opening may still leave dangerous gaps at the rail.
If the stairs have wood balusters or metal spindles, check the spacing first. The opening should not leave a child able to slip between the gate edge and the rail. A gate mounted only to drywall on one side and to a banister on the other often needs a special banister kit or gate mounting hardware. Those kits are designed to create a flat attachment point on a round or narrow post without drilling into the rail itself.
The main job here is to remove wiggle. If the gate can rotate around a banister, shift outward, or leave a triangular gap near the post, it is not ready. A child does not need a large opening to get stuck or squeeze through. The fix is usually to add the right hardware, not to tighten the gate harder. Over-tightening a pressure-mounted system can bow the frame and make the latch less reliable.
Also, watch for handrails that slope or flare. A gate placed on a slanted line can end up with uneven pressure from top to bottom. If you see one side of the gate sitting higher than the other, the fit is wrong. A level gate with even tension is what you want. If the stairs have a landing with a newel post, some gate systems can wrap around it; others cannot. Read the installation diagram, not just the marketing copy.
This is the point where many generic articles fail: they talk about “babyproofing the stairs” as if stairs are one shape. They are not. Straight rails, half walls, open spindles, and wraparound banisters all demand different hardware choices.
Common mistakes that make a no-drill gate unsafe
The most common mistake is using a pressure-mounted gate at the top of stairs because it was easy to install.
That choice saves time, but it creates the wrong kind of risk. A gate that slips at the top can turn a barrier into a tripping hazard or a fall hazard. If you need a no-drill solution there, you have to be more selective, not less.
A second mistake is measuring only the full opening and ignoring the gate’s hardware footprint. Wall cups, tension knobs, and banister brackets take up space. If the gate is sold as a 30-inch model and your opening is exactly 30 inches, that is not a comfortable fit; it is a tight fit with little room for adjustment.
A third mistake is installing over weak trim or loose baseboard. The gate may appear stable for a day or two, then shift once the pads compress. That costs you safety and usually damages the wall edge as well. Put the gate against a surface that can actually hold tension.
A fourth mistake is treating the latch as “close enough.” If you have to lift, bang, or kick the gate to get it to catch, something is off. The goal is a clean latch with one adult hand. If the mechanism is stiff or the gate drifts open after closing, stop and reset it.
For rental spaces, choose the least destructive option that still meets the safety need, but do not let “no holes” become the only requirement. A safe setup with two small patch repairs is better than a perfect wall and a loose gate.
Key Takeaways
- Measure the opening before buying, and use the narrowest width, not the most generous one.
- Pressure-mounted gates are usually the best no-drill option for the bottom of stairs, not the top.
- The top of stairs needs the most rigid setup, and if a no-drill gate cannot stay firm, it is the wrong gate.
- Stair rails, banisters, and spindle gaps can make a simple wall fit unsafe unless you add the right mounting hardware.
- A gate that wobbles, scrapes, or latches poorly is not finished, even if it looks installed.
Are pressure-mounted gates safe at the top of stairs?
No, pressure-mounted gates are generally not the safest choice at the top of stairs.
The reason is simple: they rely on tension, and tension can shift. At the top of stairs, a loosened gate creates a fall hazard instead of containing one. A hardware-mounted gate is the safer standard there. If drilling is impossible, the better answer is to find a stair-specific mounting system that does not depend on wall pressure alone.
How do i measure for a baby gate?
Measure the exact opening where the gate will sit, then match that number to the manufacturer’s width range.
Take the width at the floor, mid-height, and top, because stair openings are often uneven. Use the smallest number if the space narrows. Also note baseboards, banisters, and any trim that will reduce usable width. If you are using a banister or spindle mount, include the hardware footprint in your plan before buying.
When should i install a stair gate?
Install a stair gate before your baby can crawl or move steadily toward the stairs, and sooner if other children are already using the staircase.
The practical rule is to have the barrier ready before the child starts testing the steps. For many families, that means earlier than expected, because once mobility starts, stairs become an immediate hazard.
Drafted with AI; not yet reviewed by a person.